PDF Templates
For this DIY Pop-Up you will need:
- Cardstock or heavy construction paper
- Scissors
- Ruler
- Paper clip, or ballpoint pen that has run out of ink, or a knitting needle
- Crayons, colored pencils, markers
Instructions
1 Download the PDF templates and print out at 100% size (no scaling) on a heavy paper, such as cardstock.
2 Color all of your pieces with crayons or markers before scoring and cutting.
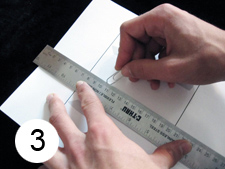
3 Use a ruler or a straight edge and a paper clip to score all the black dotted lines.
4 Next use scissors to cut out all the pieces along the black solid lines.
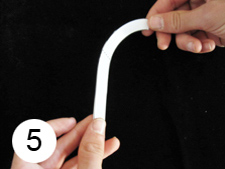
5 Take the handle piece (Tab A and B) and fold in half away from you along the center dotted line. Unfold.
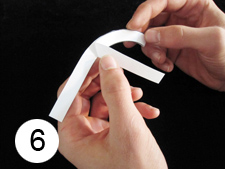
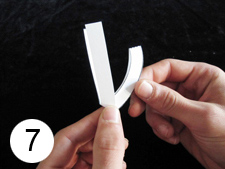
6 Now fold Tab A towards you along the dotted line. Unfold.
7 Next fold Tab B towards you along the dotted line. Unfold.
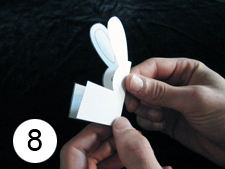
8 Next take the bunny’s head piece and fold it along the center dotted line towards you. Unfold.
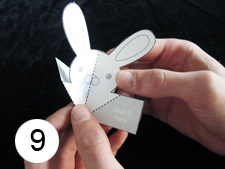
9 Fold the ‘Glue C Here’ Tab away from you. Unfold.
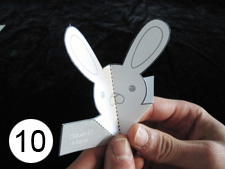
10 Fold the ‘Glue D Here’ Tab away from you. Unfold.
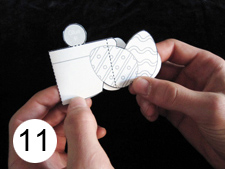
11 Next take the basket piece and fold along the center dotted line away from you. Unfold.
12 Fold the ‘Glue F’ Tab towards you. Unfold.
13 Fold the ‘Glue E’ Tab towards you. Unfold.
14 Next fold Tab G towards you along the dotted line. Unfold.
15 Next fold Tab H towards you along the dotted line. Unfold.
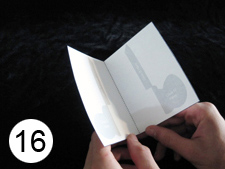
16 Now take the card piece and fold it towards you along the dotted line. Unfold.
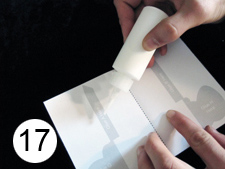
17 Put a small amount of glue on the grey ‘Glue A Here’ shape.
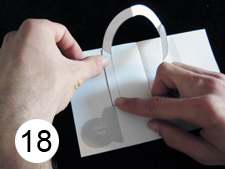
18 Now take the handle piece and match Tab A with ‘Glue A Here’ shape. Press firmly and let dry.
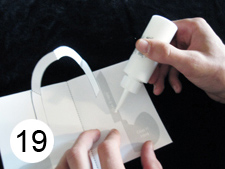
19 Next put a small amount of glue on the grey ‘Glue B Here’ shape.
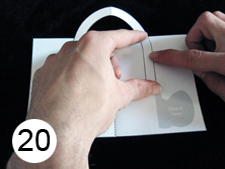
20 Next match up Tab B with the ‘Glue B Here’ shape. Press firmly and let dry.
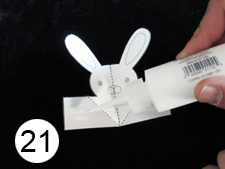
21 Now take the bunny’s head piece and put a small amount of glue on the ‘Glue C Here’ grey shape.
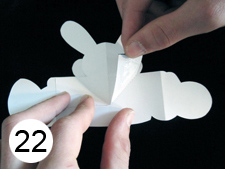
22 Now line up the ‘Glue C Here’ tab with the BACK side of the basket piece. Make sure the middle dotted lines line up together. Press firmly and let dry.
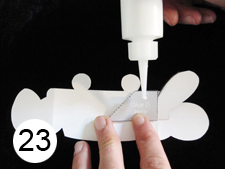
23 Lift up the ‘Glue D Here’ tab and put a small amount of glue on the ‘Glue D Here’ tab.
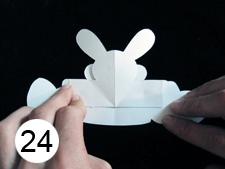
24 Next line up the ‘Glue D Here’ tab with the BACK side of the basket piece. Press firmly and let dry.
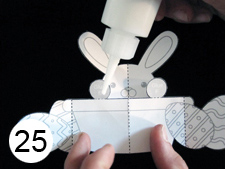
25 Turn the basket piece over to the FRONT side. Put a small amount of glue on the ‘Glue E’ grey tab.
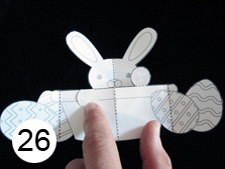
26 Next fold ‘Glue E’ tab down towards you. Press firmly and let dry.
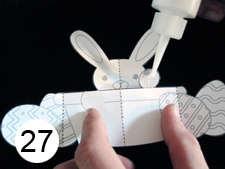
27 Put a small amount of glue on the ‘Glue F’ tab.
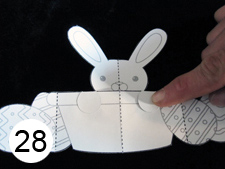
28 Fold ‘Glue F’ Tab towards you. Press firmly and let dry.
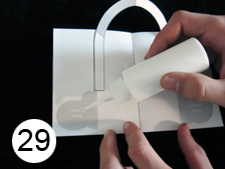
29 Now take the card piece and put a small amount of glue on the ‘Glue G Here’ grey shape.
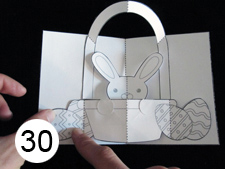
30 Take the basket piece and line up Tab G with the ‘Glue G Here’ grey shape. Make sure the middle dotted lines line up together. Press firmly and let dry.
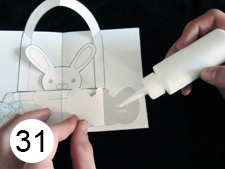
31 Now put a small amount of glue on the ‘Glue H Here’ grey shape.
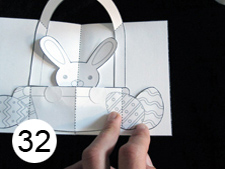
32 Next line up Tab H with the ‘Glue H Here’ grey shape. Press firmly and let dry.
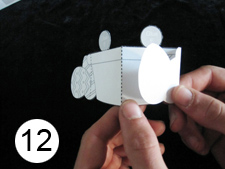
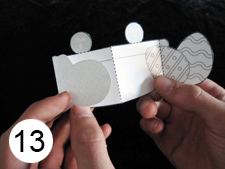
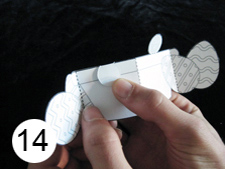
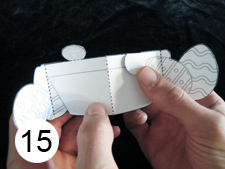
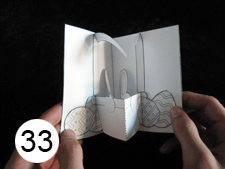
33 Now close the card.
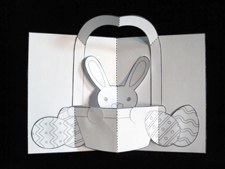
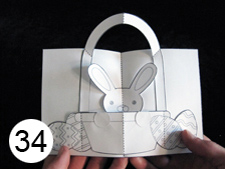
34 And open the card. You now have your very own Easter Bunny card!







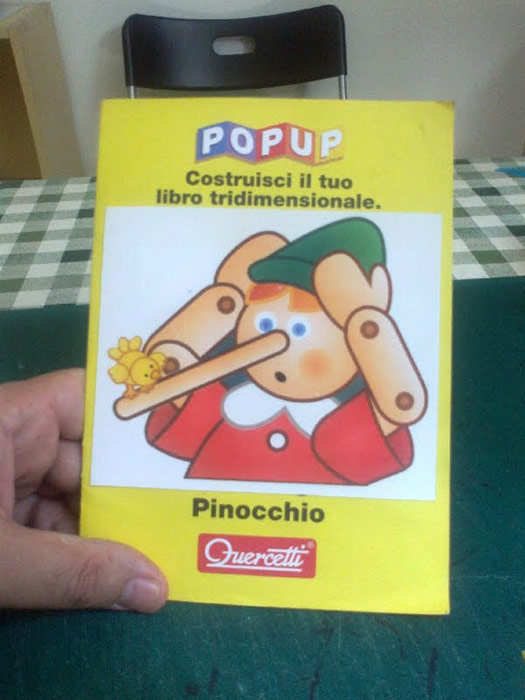
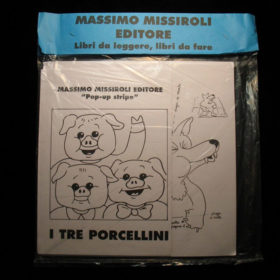
 This is an amazing package design from