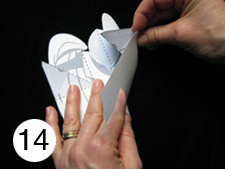
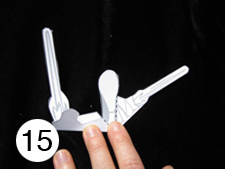
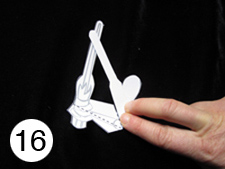
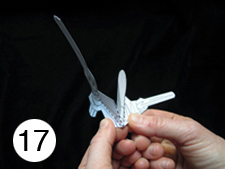
For this DIY Pop-Up you will need:
- Cardstock or heavy construction paper
- Scissors
- Ruler
- Paper clip, or ballpoint pen that has run out of ink, or a knitting needle
- Crayons, colored pencils, markers
Instructions
1 Download the PDF templates and print out at 100% size (no scaling) on a heavy paper, such as cardstock.
2 Color all of your pieces with crayons or markers before scoring and cutting.
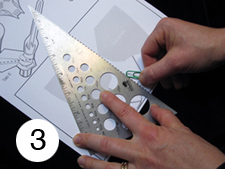
3 Use a ruler and the rounded end of a paper clip to “score” (press along) the dotted lines.
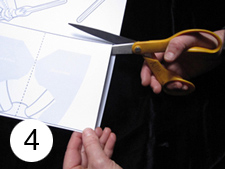
4 Carefully cut out the pop-up pieces and card along the solid black outlines.
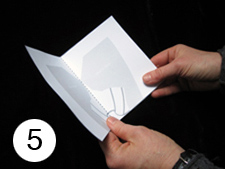
5 Take the card piece and fold along the dotted black line towards you. Unfold and set aside.
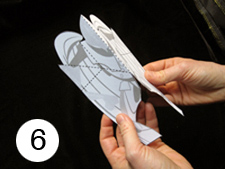
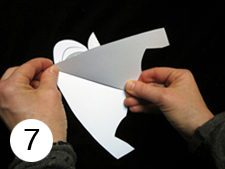
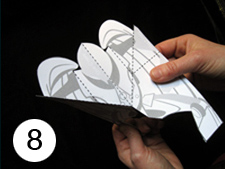
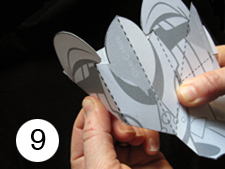
6 Take the big piece with Tabs A and B. Take Tab A and fold it in half along the dotted black line away from you. Unfold.
7 Fold Tab A towards you. Unfold.
8 Fold Tab A away from you, but keep it folded.
9 Now fold the small black dotted line away from you. Unfold completely.
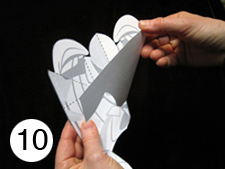
10 Fold Tab B towards you. Unfold.
11 Fold Tab B away from you, but keep it folded.
12 Now fold the small black dotted line away from you. Unfold completely.
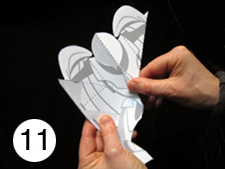
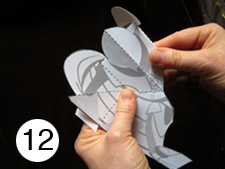
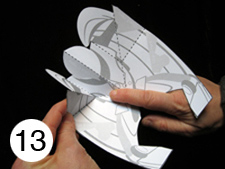
13 Take Tab A and start to fold it towards you again. As you do this, push the “Glue D Here” parts towards you as well. This should fold inside Tab A. Unfold completely.
14 Take Tab B and start to fold it towards you again. As you do this, push the “Glue F Here” parts towards you as well. This should fold inside Tab A. Unfold completely. And set aside.
15 Take the arm piece that has Tab D and Tab E. Fold Tab D towards you along the black dotted line. Unfold.
16 Next fold Tab E and fold it towards you along the black dotted line. Unfold.
17 Now fold the piece along the middle black dotted line away from you. Unfold and set aside.
18 Repeat Steps 15, 16, and 17 on the arm piece with Tab F and Tab G.
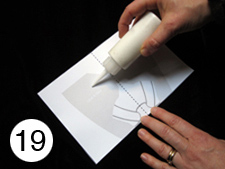
19 Take the card piece and put glue in the “Glue A Here” area.
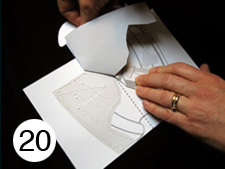
20 Take the big piece and line up Tab A with “Glue A Here” area.
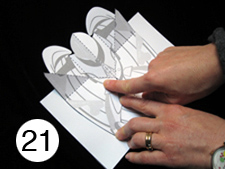
21 Press firmly and let dry.
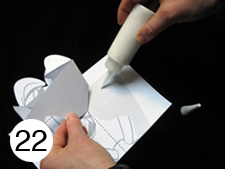
22 Lift up Tab B and put glue in the “Glue B Here” area.
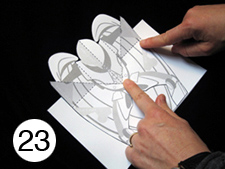
23 Press Tab B on the “Glue B Here” area. Make sure that this piece lays flat. Press firmly and let dry.
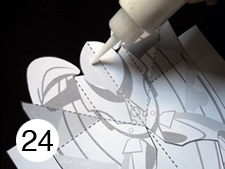
24 Put glue on “Glue C Here” area.
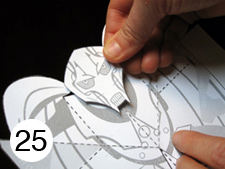
25 Take Grievous’s head and line up with the “Glue C Here” area. Press firmly and let dry.
26 Put a small amount of glue on “Glue D Here” area.
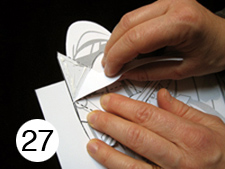
27 Take the arm piece with Tab D and Tab E. Line up Tab D with “Glue D Here” area.
28 Press firmly and let dry.
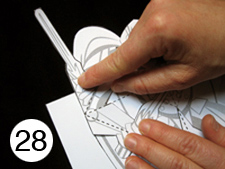
29 Lift up Tab E, and put a small a mount of glue on “Glue E Here” area.
30 Press Tab E on the “Glue E Here” area. Make sure this piece lays flat. Press firmly and let dry.
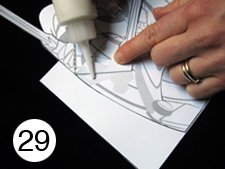
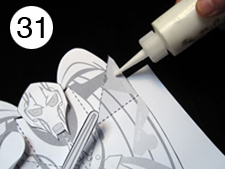
31 Put a small amount of glue on “Glue F Here” area.
32 Take the arm piece with Tab F and Tab G. Line up Tab F with “Glue F Here” area.
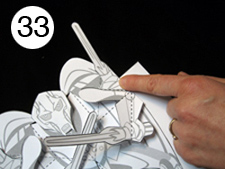
33 Press firmly and let dry.
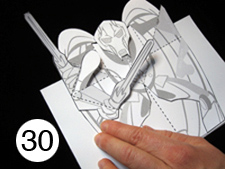
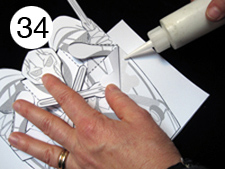
34 Lift up Tab G, and put a small a mount of glue on “Glue G Here” area.
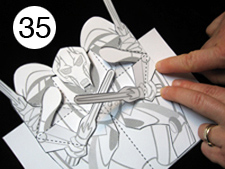
35 Press Tab G on the “Glue G Here” area. Make sure this piece lays flat. Press firmly and let dry.
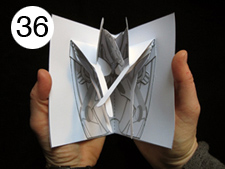
36 Slowly close the card shut. Press firmly.
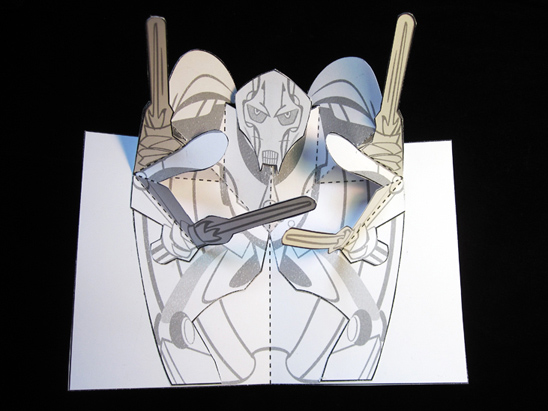
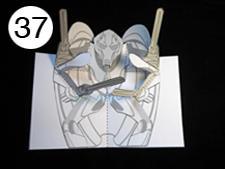
37 Open your card and watch out! Grievous is ready for battle!


