Artist Watch: Tyree Callahan

I first encountered the Chromatic Typewriter through Colossal (which is a site that posts great artwork).  Tyree Callahan created the Chromatic Typewriter, and I personally wish that I could send emails this way!

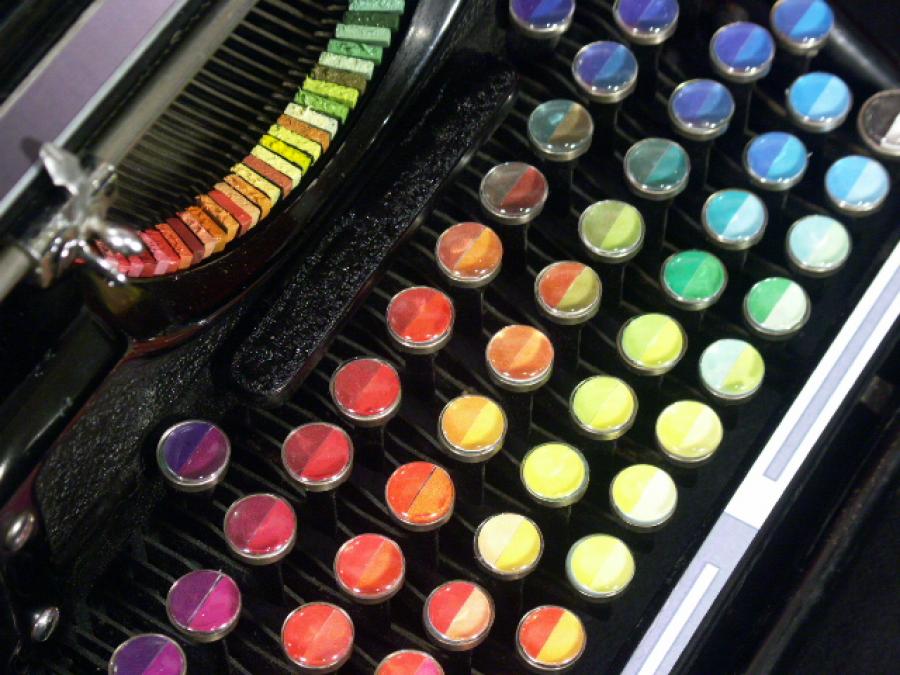
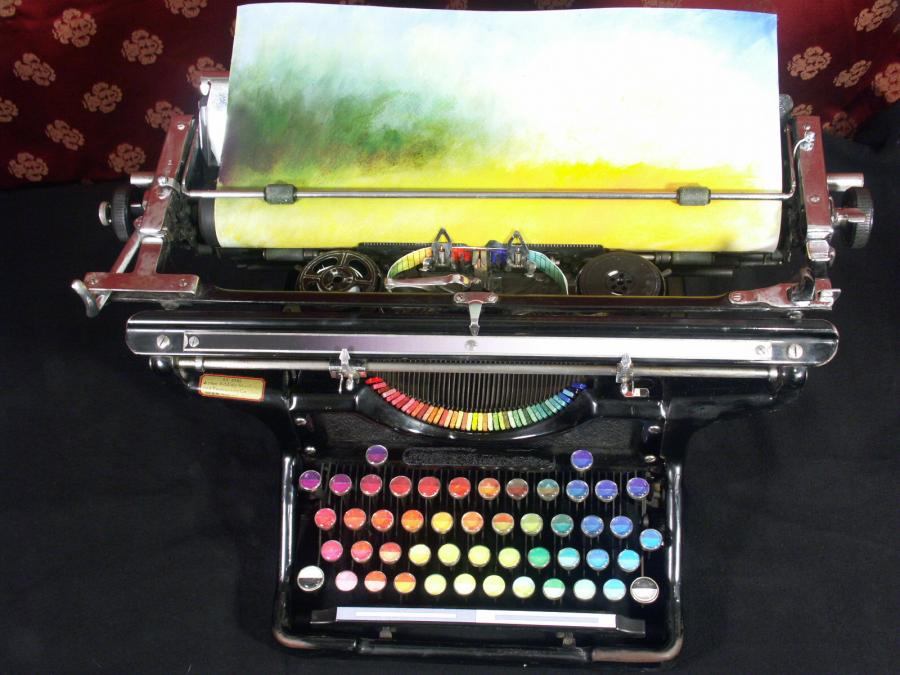
Instead of letters on the typewriter, he replaced them with colors so you can now paint your letters out.  It creates a very ethereal picture, a very hazy, dreamy landscape.  To find out more about Callahan’s work check out his website!

Pop-Up Showcase: Kit Lau

Kit Lau: illustrator, designer, paper engineer, and friend of the studio!  Mr. Lau was extremely nice to send us copies of his books ‘Pop-Up China’ and ‘Hong Kong Pop-Up’.

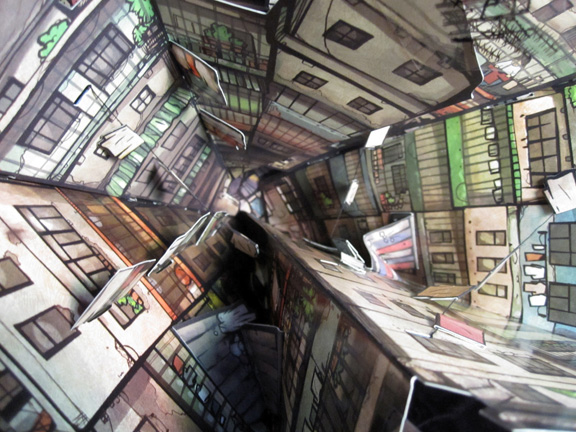
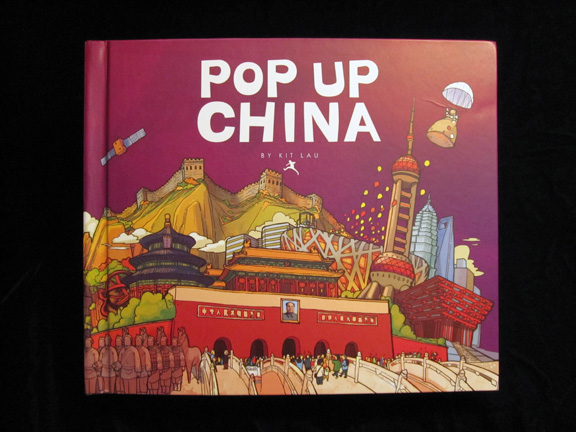
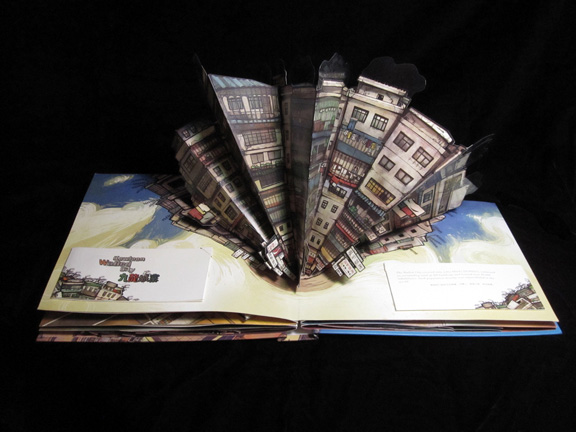
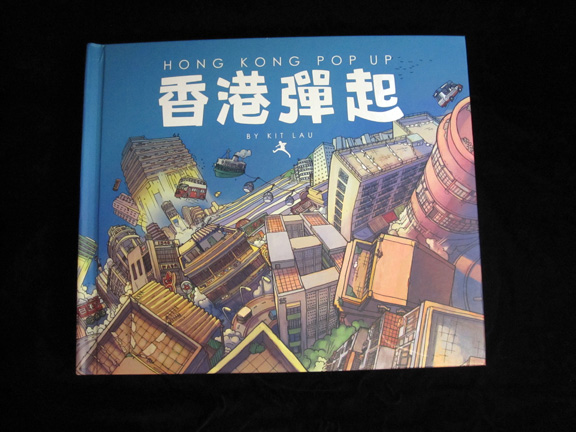
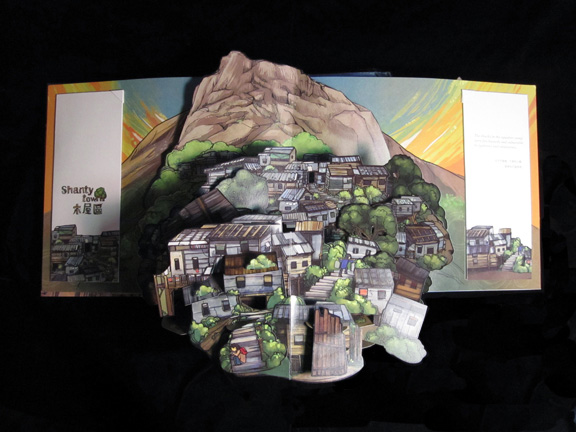
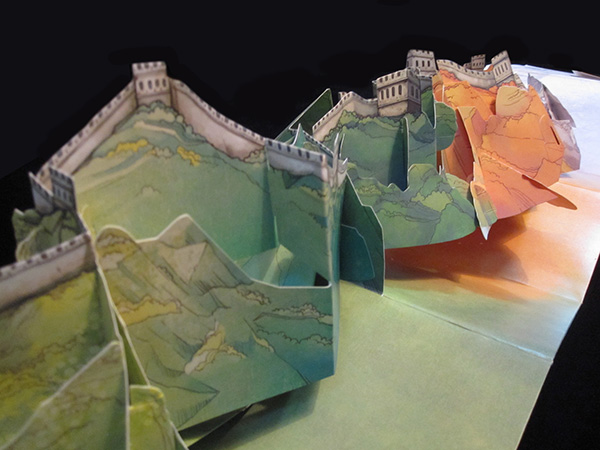
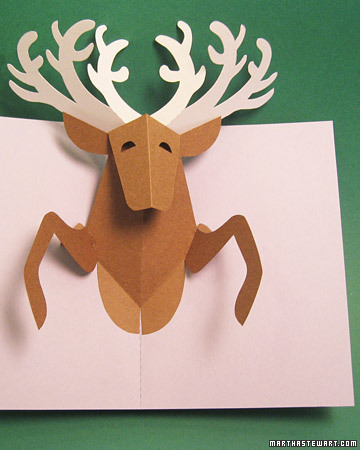
His pop-ups are very atmospheric and you really get a sense of space.  Especially in ‘Hong Kong Pop-Up’, you go on a journey of different types of dwellings.  I loved the big walled city pop up with the crowded tall buildings and being able to look down into the center.  Mr. Lau also created an amazingly huge pop-up of the Great Wall of China!  It’s over 4 feet long when it’s open! Check out more of Kit Lau’s work on his website!
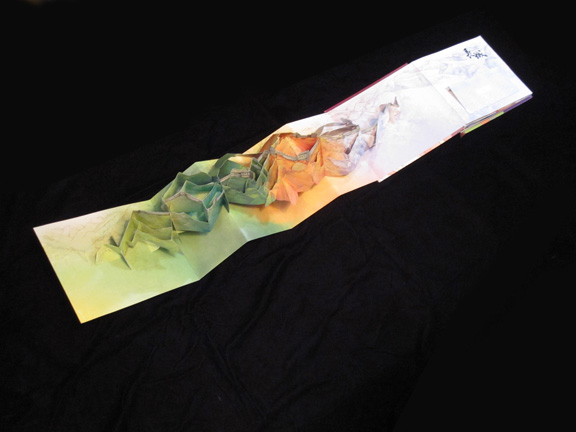
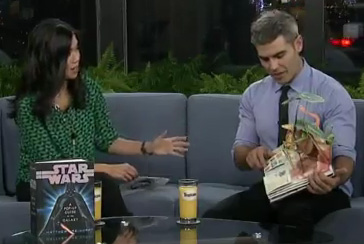
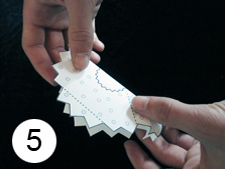
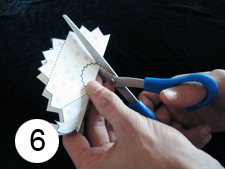
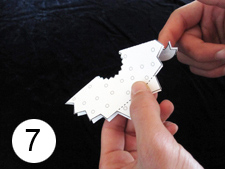
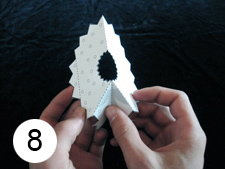
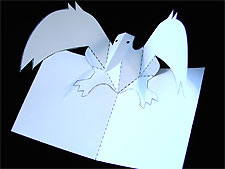
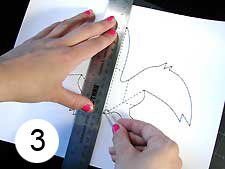
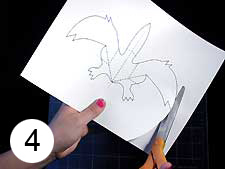
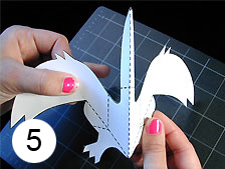
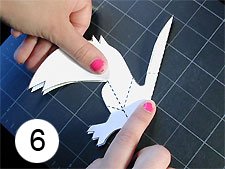
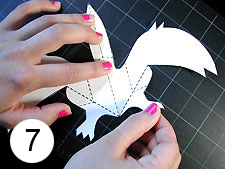
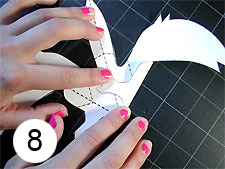
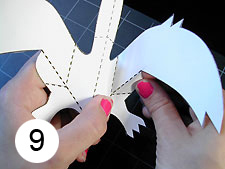
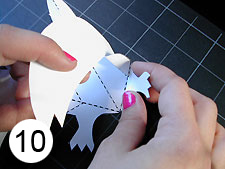
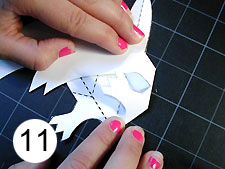
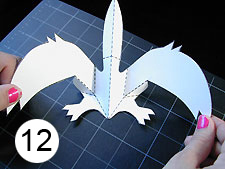
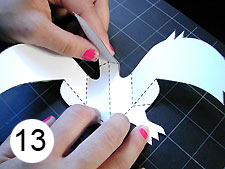
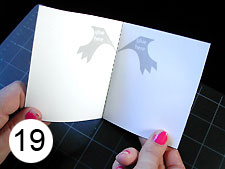
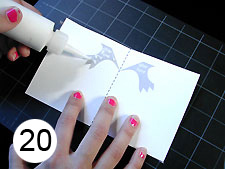
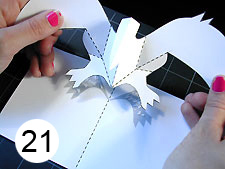
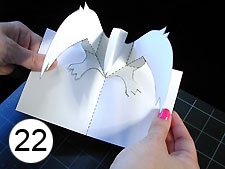
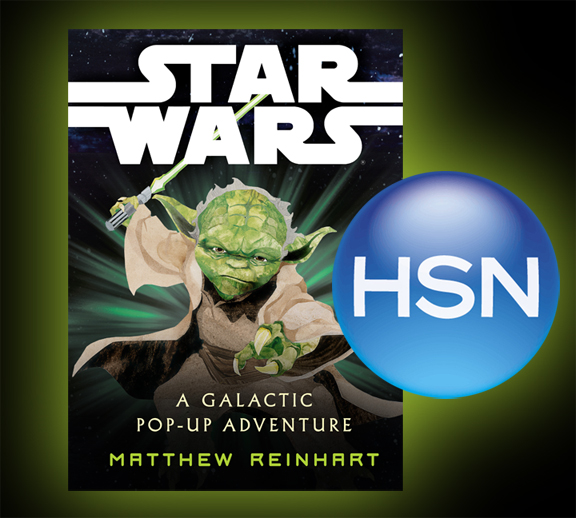
DIY Pop-Up: Reindeer

The holidays are upon us, which means we will all be sending out cards to our loved ones!  Why not make them something special, like this DIY Reindeer pop-up card?  Matthew was on the Martha Stewart show a while back and showed her how to make this wonderful card.  You can watch the show below and download templates to make your very own DIY Reindeer pop-up card!

Click here to watch Matthew teach Martha how to make the Reindeer pop-up, and click here to download the DIY Reindeer template.

Matthew on Breakfast Television

You can tell it was early, right? Matthew was still a little slow last Friday morning in Toronto, but he had a fantastic time talking about Star Wars: A Galactic Pop-Up Adventure with Melanie Ng on City TV.

DIY Pop-Up: Wreath

PDF Templates

DIY Wreath

For this DIY Pop-Up you will need:

  • Cardstock or heavy construction paper
  • Scissors
  • Ruler
  • Paper clip, or ballpoint pen that has run out of ink, or a knitting needle
  • Crayons, colored pencils, markers

Instructions

1 Download the PDF templates and print out at 100% size (no scaling) on a heavy paper, such as cardstock.
2 Color all of your pieces with crayons or markers before scoring and cutting.

3 Use a ruler or a straight edge and a paper clip to score all the black dotted lines.
4 Next use scissors to cut out all the pieces along the black solid lines.
5 To cut out the center of the wreath, fold the wreath piece in half away from you.  Do not unfold.

6 Now you can cut the center area out of the wreath piece. Do not unfold yet.
7 Fold the angled black dotted lines towards you and then away from you. Unfold the piece.
8 Now push the bottom area of the wreath piece away from you as you start to fold the piece in half. Unfold.

9 Fold tab A towards you. Unfold.
10 Fold tab B towards you. Unfold.
11 Take the card piece and fold towards you. Unfold.

12 Put glue on the ‘Glue A Here’ gray area
13 Line up wreath piece’s tab A with ‘Glue A Here’. Press firmly and let dry.
14 Put glue on the ‘Glue B Here’ gray area.

15 Line up wreath piece’s tab B with ‘Glue B Here’. Press firmly and let dry.
16 Put glue on the ‘Glue C Here’ gray area.
17 Take piece C and line up with the ‘Glue C Here’ gray area. Press firmly and let dry.

18 Put glue on the ‘Glue D Here’ gray area.
19 Take piece D and line up with the ‘Glue D Here’ gray area. Press firmly and let dry.
20 Now fold the card in half.

21 Unfold and now you’ve made your own pop up wreath!

DIY Pop-Up: Dinosaur

For this DIY Pop-Up you will need:

  • Cardstock or heavy construction paper
  • Scissors
  • Ruler
  • Paper clip, or ballpoint pen that has run out of ink, or a knitting needle
  • Crayons, colored pencils, markers

Instructions

1 Download the PDF templates and print out at 100% size (no scaling) on a heavy paper, such as cardstock.
2 Color all of your pieces with crayons or markers before scoring and cutting.

3 Using a ruler as a guide, take the rounded end of a paper clip (or a ballpoint pen that has run out of ink) and press along the dotted lines of the pop-up piece and card. Go all the way from the top to the bottom of the card!
4 Carefully cut out the pop-up piece and card for the Pterodactyl following the solid, black lines.
5 Take hold of the Pterodactyl and begin to fold it in half with the wings moving back…

6 …until folded completely in half.
7 Take hold of the lower right foot and begin folding it up towards the body…
8 …until it lays completely flat against the body. Fold the foot back down to its original position.

9 Take hold of the small triangle below the wing and begin to pull the whole wing in…
10 …as you pull the wing in the foot will begin to come up as well…
11 …until the wing and the foot are folded in towards the body. Repeat Steps 9 – 13 on the left side.

12 Your pop-up should now look like this with the wings both coming towards you.
13 Take hold of the right side of the head and fold SLIGHTLY forward along the dotted line.
14 Take hold of the left side of the head and fold SLIGHTLY forward along the dotted line.

15 Grasp both sides of the head and pinch it in half along the dotted line.
16 Take hold of the entire head and begin folding it down…
17 …towards the body.

18 Your pop-up should now look like this. Color in the head to match the body.
19 Take the card and fold it in half along the dotted line. Open it up again.
20 Carefully put a small amount of glue on the glue areas.

21 Take the Pterodactyl, line up his feet with glue areas and press onto the card. Let dry!
22 After the glue has dried, carefully begin to close the card.
23 Your pop-up Pterodactyl is complete! Be careful he doesn’t fly away!

DIY Pop-Up: House

PDF Templates

DIY House

For this DIY Pop-Up you will need:

  • Cardstock or heavy construction paper
  • Scissors
  • Ruler
  • Paper clip, or ballpoint pen that has run out of ink, or a knitting needle
  • Crayons, colored pencils, markers

Instructions

1 Download the PDF templates and print out at 100% size (no scaling) on a heavy paper, such as cardstock.
2 Color all of your pieces with crayons or markers before scoring and cutting.

3 Use a ruler or a straight edge and a paper clip to score all the black dotted lines.
4 Next use scissors to cut out all the pieces along the black solid lines.
5 Also don’t forget to cut the little solid black lines on the roof.

6 Take the card piece and fold along the dotted line towards you. Unfold.
7 Take the house piece and fold Tab A away from you. Unfold.
8 Next fold the bottom of the roof along the dotted line away from you.  Unfold and repeat on the left side of the roof.

9 Now fold the left side of the house away from you. Unfold.
10 Now fold the part of the house that has Tab C attached to it away from you. Unfold.
11 Now fold the next part of the house that has Tab D attached to it away from you. Unfold.

12 Now fold Tab B away from you.
13 Next fold Tab C towards you. Unfold.
14 Next fold Tab D towards you. Unfold.

15 Now fold the house in half along the center dotted line. Do not unfold.
16 Put a small amount of glue on the “Tab B” shape.
17 Line up Tab B with the edge of the house piece. Press firmly and let dry.

18 Now put a small amount of glue on the “Tab A” shape.
19 Line up the left part of the roof on top of Tab A. Press firmly and let dry.
20 Put a small amount of glue on the “Glue C Here” shape.

21 Line up Tab C with the “Glue C Here” shape. Press firmly and let dry.
22 Now keep the house piece folded flat and lift of Tab D.
23 Put a small amount of glue on the “Glue D Here” shape.

24 Close the card gently to make sure Tab D matches with the “Glue D Here” shape.  Press firmly and let dry.
25 Now open the card. You’ve made your own little house!

The Miami Book Fair International 2012

Matthew has the distinct pleasure of being in his home-away-from-home, Miami, for the incredible annual Miami Book Fair International from November 15th-18th, 2012.

Festival location:
Miami Dade College
300 North East 2nd Avenue
Miami, FL 33132

Thursday, November 15th, 201211:00 AM – 11:50 AM
Location: Miami-Dade College Building 7, room 7128, first floor
Teacher Fun Day Presentation
Matthew will present at a closed event to a group of teachers, librarians and media specialists.

Friday, November 16th, 201210:300 AM – 11:30 AM
Location: Miami-Dade College Building 3, Second Floor, Room 3208
School presentation with Schools from Miami –Dade County
Matthew will be presenting to a room of 150 students ranging from grades 3-7.

Saturday, November 17th, 20122:00 PM – 2:30 PM
Location: Author/Storytelling Stage
Matthew will have a short pop-up demo with a brief book signing immediately following afterward.

Sunday, November 18th, 2012 12:00 PM – 12:30 PM
Location: Author/Storytelling Stage
Matthew will have a short pop-up demo with a brief book signing immediately following afterward.

You can download a fairgoers’ guide here.  Matthew will see you there!

Matthew on HSN!

Matthew will be on Home Shopping Network tomorrow, Wednesday, November 14th!  Join Matthew tomorrow morning at 8:00am to see and purchase his newest book, ‘Star Wars: A Galactic Pop-Up Adventure‘, as well as ‘DC Comics Super Heroes: The Ultimate Pop-Up’ and ‘Encyclopedia Mythologica: Fairies & Magical Creatures’… all at a special holiday price!